#personal favorite stimboards
Text
my personal favorite stimboards masterlist!
so, as it turns out... i've made a lot of stimboards since 2021 when i made my first favorite stimboards stimboard. i wanted to make another stimboard of the boards, but i quickly found out i had way too many favorites to fit in a stimboard that my computer or phone could handle lol.
so, instead of the stimboard, here is a bunch of links to my favorite stimboards with some descriptors. as far as name stimboards go, i love them all too much so i couldn't decide on a concise list of favorites lol enjoy! comment your favorites if you want to!
concept / music based:
clowncore with bright primary colors | butterflies, spiders, & moths in purple & blue | nature, flowers, & bugs in pink & yellow | aroace sunset flag with nature | lunar rainbow | pansexual with nature | black & neon glowcore | hot pink color board
demeter & young persephone | black arches moth | carnivalcore, kidcore, & kitties | smile - the beach boys album art | pink, elegant, & floral | death's head hawkmoth | virginian tiger moth
night skies, the moon, biblically accurate angels, books, & moths | yule pagan holiday board | rain by sleep token | "i know love is real because i exist and i am full of it" | sidewalk chalk kitty
character / franchise based:
marie (splatoon) based on only her hair colors | dark magic hat creampuff cookie (cookie run: ovenbreak) | seer (apex legends) | floral sacrifice soul weaver (identity v) | super pusheenicorn (pusheen) | haku (spirited away) | skitty (pokemon) | wish bear & love-a-lot bear (care bears) | baby hugs & tugs (care bears)
custom camper (animal crossing: pocket camp) | banette (pokemon) | royal livery bloodhound (apex legends) | caregiver zacharie & small batter (off game) | a gaze eternal revenant (apex legends) | raiden (metal gear rising: revengeance) | fleur fairies (jellycat)
bog witch ad (goatlings) | wicked harvest bloodhound (apex legends) | neon skeleton squishmallows | mirage (apex legends) | k_k (deltarune) | renji & uta with cafe elements & greyscale (tokyo ghoul) | ione (animal crossing) | zucker (animal crossing) | oyster cookie (cookie run: kingdom)
lime cookie (cookie run: ovenbreak) | blue eyes white dragon (yu-gi-oh) | alice in wonderland 1951 film | lobo (puss in boots: the last wish) | miffy kidcore positivity (miffy & friends) | trans calico critters (sylvanian families) | king rauru (the legend of zelda: tears of the kingdom) | catalyst (apex legends)
g1 pony bride (my little pony) | white pearl cookie (cookie run: kingdom) | soft pastel blue dratini (pokemon) | dusk from the hex girls (scooby doo) | frilled jellyfish cookie (cookie run: kingdom) | uboa (yume nikki) | sayaka miki (puella magi madoka magica) | fog canyon (hollow knight)
#stim#stimboard#links#ish talks#personal favorite stimboards#requests#gosh i hope all these links are right lol#if they aren’t PLEASE let me know
41 notes
·
View notes
Text


senshi stimboard
if you’re seeing this, then senshi wants you to take care of yourself and go eat some food <3
sources: 🧡🧡🤎 | 🥘🍲🥘 | 🤎🧡🧡
#senshi says the kind of food doesn’t matter bc all food is good food! just try to go have a snack rn! senshi will be very proud if u do :))#stimboard#senshi#senshi of izganda#dungeon meshi#delicious in dungeon#food stim#cooking#knives#sharps#tw raw meat#stim board#my boards#personal boards#food#brown#green#yellow#red#oughhh this is definitely one of my favorite boards I’ve made in a LONG time..#love that I was able to both make a senshi board (delightful) AND use it as an excuse to just fill a board with cozy food stims#man senshi is literally so important to me.. I love him….#I swear bro is literally the patron saint of ed recovery rn lmaooo#bless him <33 he is genuinely motivating me to eat. and to make boards again apparently!
60 notes
·
View notes
Text


Stimboard For: Me! Bonnie Bunny with arcadecore themes
× | × | × || × | × | × || × | × | ×
#fnaf kin#five nights at freddy’s kin#fnaf bonnie kin#kin stimboard#stimboard#arcadecore#arcade stim#arcade aesthetic#kin aesthetic#bonnie bunny kin#animatronic kin#fnaf animatronic kin#👾 stim#👾 personal#👾 high score | favorites
44 notes
·
View notes
Text
Zeraora Stimboard


#zeraora#favorite pokemon#favorite stimboard#electric type#thunder#pokemon#pokemon stimboard#stimboard#personal stimboard
25 notes
·
View notes
Text
The End Stimboard
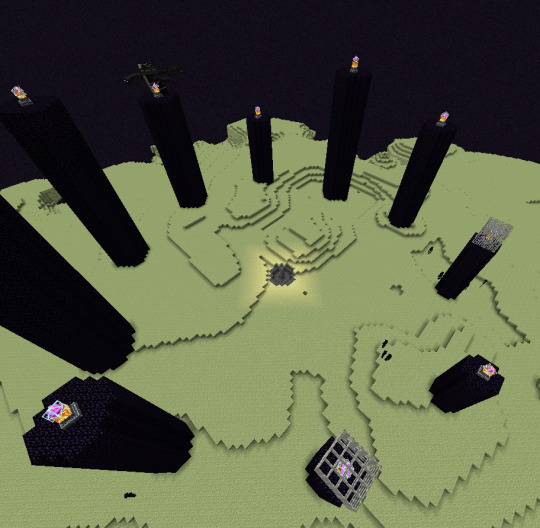


x | x | x
x | • | x
x | x | x
#the end#Minecraft the end#stimboard#jj's personal stimboard#minecraft stimboard#mineblr#ender dragon#fan favorite#JJ's number 1#black#purple#star#bath bomb#dragon#moon#glitter#paint#paint mixing#crystal#eye#tw eye imagery
219 notes
·
View notes
Text
glitch slime stimboard


#slime rancher 2#indie games#stimboard#slime rancher#visual stim#moodboard#slimerancher#my personal favorite
16 notes
·
View notes
Text


Goldie the Sunshine Fairy
suncatcher ☀️ drawing sun ☀️ drawing star ☀️ slime ☀️ paint swish ☀️ star clay cracking ☀️ heart shaped soap cutting ☀️ soap cutting
#rainbow magic#rainbow magic fairies#stim#stimboard#goldie the sunshine fairy#gold#yellow#orange#suncatcher#sparkles#sun#stars#drawing#slime#painting#clay cracking#soap cutting#the weather fairies#personal favorites
50 notes
·
View notes
Text


Julia stimboard
×/×/× ×/× ×/×/×
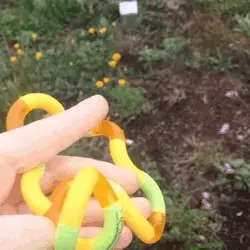
#links r in random order again I'm sorry 😭#text#pic#gifs#stim#stimmy#stims#stimblr#stimming#stimboard#julia sesame street#sesame street#autismposting#literally!#actually autistic#muppets#bunny stim#tangle jr#pom pom stim#slime stim#bouncy ball stim#my personal favorite stims+ muppet character!#cake stim#koosh ball stim#crayons stim#sparkly stim
5 notes
·
View notes
Photo
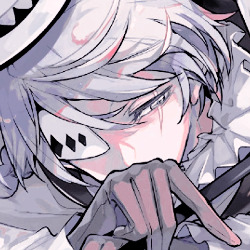
✧ ¦ Sigma x Nikolai Gogol Stimboard
✧ ¦ Credits: ☆ x ☆ // x ☆ x // ☆ x ☆ ╶╴likes/reblogs appreciated!
#✼ Stimboard#✼ Finished Edit#✼ Completed Request#bsd#bungou stray dogs#bungo stray dogs#bsd sigma#bsd gogol#nikolai gogol#gogol bsd#bsd nikolai#nikolai bsd#sigma bsd#stimboard#stim#psd: gummybearontasa#✼ Personal Favorite
79 notes
·
View notes
Text

marina stimboard 🎧
taking requests
(I LOVE HER!!!!)
4 notes
·
View notes
Text
15 in the inbox rn whew i feel a little better...
#i think i'd have more like.... inspo to work on them if they were related to my spesific interests#like there are 2 animatronics ones i can't wait to work on but the rest are knind of out of my depth#WHICH IS FINE!!!! i understnad people are going to ask for THEIR favorite things not MINE#i really enjoy making boards for people cos i know even if it's one person it'll make them happy#but rn i just want to work on like... horror and cartoons which are my big mainstays#also weird music lol.#idk i guess i'm just saying this cos i should probably make a list of stuff i will be more motivated to work on?#that seems like it'll take more out of me than making a stimboard tho just cos of#all the thought i'd have to put into what i'm actually motivated to work on at THE MOMENT#and i'd have to update it a lot#I RLLY WANNA WORK On HORROR BOARDS AND CRAIG OF THE CREEK
4 notes
·
View notes
Text

PSDs For Dummies <3
— as written by a dummy
hello dear readers and welcome back to canarysage, the world’s least comprehensive tutorial blog. today, we’re back at it again with photopea for dummies, and we’re tackling something i probably should have done first: psds.
example psds are: 1 (@cutesiplushi) 2 (@didlivio) & 3 (@lumieron)
what is a psd?
excellent question, dear reader! psd stands for photoshop document, and it’s a type of file format (like .png or .gif) that allows you to store a project’s individual layers! it’s a file format that, for obvious reasons, is exclusive to photoshop and photopea.
in editing circles, psd has become shorthand for filter. people use psds to save configurations of adjustment layers that are then used to filter images consistently, without having to remake them every time. when someone posts a psd, they’re posting a folder (hopefully it’s in a folder) with their specific set of adjustment layers for anyone to use!
where can i get psds?
right here on tumblr! check your favorite edit blogs, as they may have posted some, or search ‘free psd’ or ‘psd coloring’ in the search function. tumblr doesn’t allow you to upload psds directly, so you’ll be redirected to a site outside tumblr. probably either deviantart, google drive, or ko-fi, all of which are easy to use. deviantart requires you to have an account to download anything (luckily, an account is free!) and ko-fi may require you to pay money. google drive doesn’t have a search function in and of itself, but it’s extremely easy to download off of.
also, shameless self plug, but i post psds right here on canarysage! i personally use deviantart, but again, an account is free. if send me an ask, i may be able to provide you with a google drive link, if you ask really nicely (。•̀ᴗ-)✧
and of course if you don’t want to use someone else’s psd, you can always make your own.
how do i use a psd?
once you have a psd of your choice downloaded, open up photopea! or photoshop, if you’re rich like that.
once you open photopea, click this here button right in the middle of the screen, the one that says “open from computer”
from there, go to choose files and open up your psd! depending on from whom you got it, psds will look different once you open them. i’m using one of my own as an example.

you can see there’s two layers in my psd, a folder, and an image. the image is just for me so i know which psd this is once i save it—i like to save all my psds with images of real people so i know how it looks on moodboards or stimboards.
the folder is the important part here, that’s where the adjustment layers are contained. to transfer a psd, you can either go to file > new
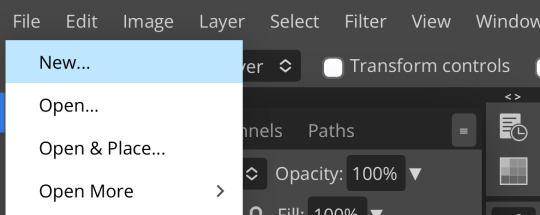
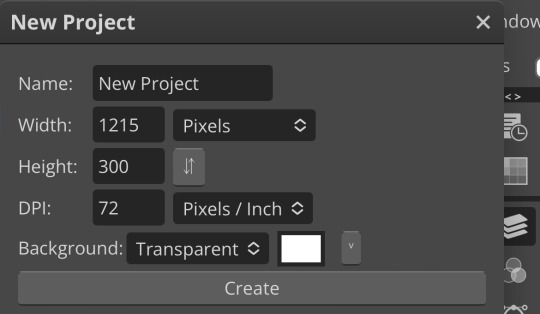
which lets you start an entirely new project, or you can open an image using file > open
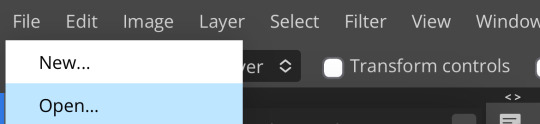
which will give you the image you selected.
as an aside, if you’re opening a psd and you already have a project in progress, make sure to click file > open and not file > open & place, as open & place won’t give you the adjustment layers.
then to move the folder, go to layer > duplicate layer into while having selected the folder (just tap on it, that will make it a lighter gray to show it’s selected) and duplicate the folder into whatever your image is
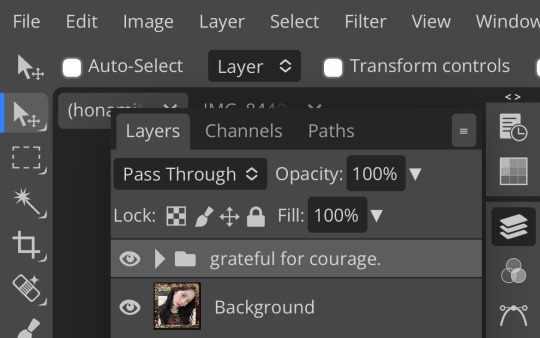

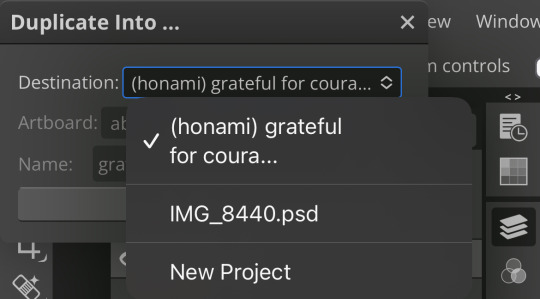
i’m moving mine to a random image of honami i found which is why it’s named like that. once the folder’s duplicated into your project, go over and take a look!
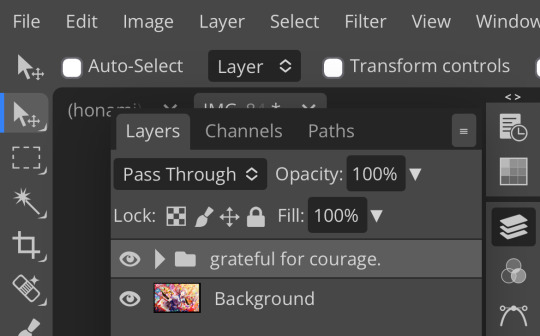
you should now see something like this! ensure that the folder is on top, as otherwise the adjustment layers won’t work.
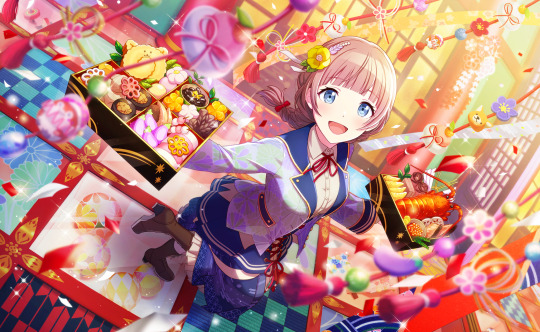
here’s the difference between the unfiltered image and the image with my psd!
to save images in photopea (like i did just now) go to file > export as > (your preferred file format)
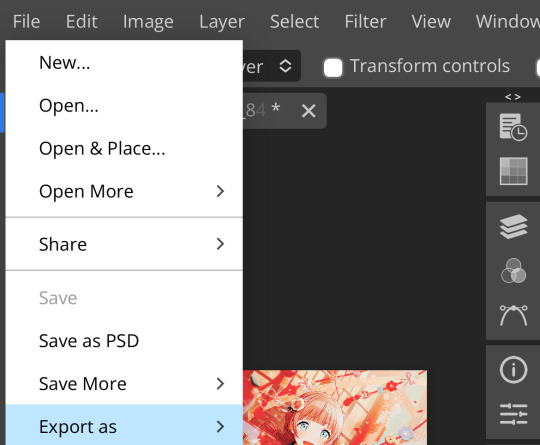
which will pull up something like this
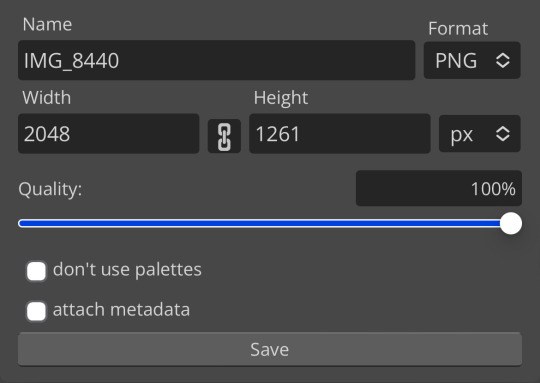
i recommend either saving as a png (for still images) or as a gif (for… gifs) but that’s up to you! in order to save a psd, go to file > save as psd! that will save your project to your device
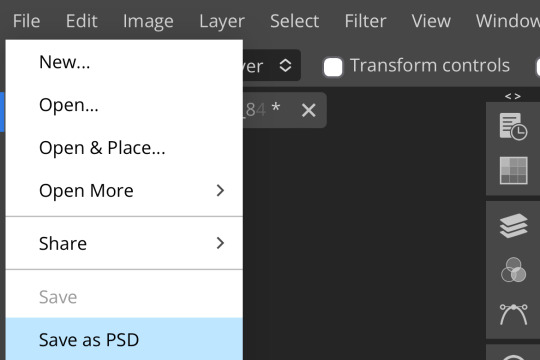
bear in mind that tumblr doesn’t accept psds as a file format, so if you’re going to post an edit, you have to save it as something else. also, don’t just save other people’s psds and claim them as your own—psds take a lot of time, effort, and skill, like any other art form.
can i make my own psds?
100% yes! i can’t give you a step-by-step process unfortunately, as there really is no one way to make psds. i recommend familiarizing yourself with adjustment layer and seeing what works.
shameless self plug again, but you can check out my other posts in this series to find out about some of the adjustment layers!
basically, i like to think of adjustment layers as a few different categories. light/darkness adjustments (ie: brightness/contrast, levels, curves, exposure, black & white, and threshold to a certain extent.) saturation adjustments (vibrance, hue/saturation.) color adjustments (hue/saturation, color balance, photo filter, channel mixer, selective color, gradient map depending on how you use it, and replace color.) and also, miscellaneous (posterize, which gives your images a pop-art crunchy kind of effect, invert, which… inverts your colors, and color lookup, which is a set of filters unto itself)
how you utilize adjustment layers is up to you! i personally like to use a variety and see what happens, my personal favorites being channel mixer, photo filter, and hue/saturation. you can also utilize blending modes (shameless self plug again,) or opacity.
if you have no idea where to start, you can look at other people’s psds to see their process. don’t copy or steal, for obvious reasons, but you can toggle layers on and off and see what happens and what each layer does.
making psds isn’t as intimidating as it sounds, you just have to start a project and start creating! it gets really fun once you get the hang of it (*'▽'*)
i don’t edit with photoshop or photopea, can i still use psds?
short answer: nope!
long answer: if you want use psds but you’re super used to ibis paint or whatever you currently use, have no fear! you don’t have to switch all your editing to photopea. you can make your main project in ibis or whatever as normal, then upload it to photopea and add a psd.
you can also make perfectly fine filters in ibis paint in your own right, with enough tweaking. there’s also apps such as polarr and picsart which come with filters, but i’ve never used them so i’m unable to vouch for how they work.
do i need to use psds when editing?
nope! psds are 100% optional. they’re a style like anything else—some people prefer them and some people don’t. it’s up to you.
did you genuinely write 1178 words answering questions no one asked?
yep.
what if i have a question you didn’t answer?
feel free to shoot me an ask! i don’t mind explaining further, and i promise i don’t bite. as with anything, this is just meant to explain to anyone who needs assistance—photopea for dummies by a dummy, after all. we can be confused together!
are you done now?
i am! congratulations for reading this far!
yours truly, canarysage
85 notes
·
View notes
Text


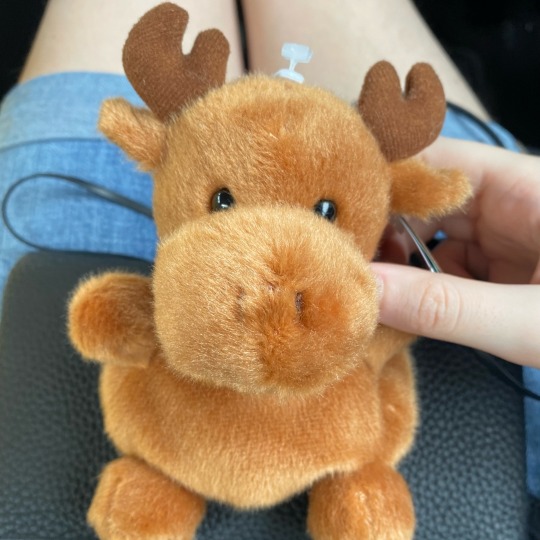

beau the moose stimboard
my new friend I love him so much :)
sources: 🍂🤎🍂 | 🥧🥞🥧 | 🍂🤎🍂
#stimboard#stuffed animals#moose#stuffies#plushies#soft#tan#sweets#dogs#fur#stim board#my boards#personal boards#brown#beige#soft things#animals#petting animals#food#i don’t care if I already used the top puppy gif it is my favorite :)#his lil face reminds me of beau
57 notes
·
View notes
Note
Hi hello hi,, this is probably not going to be a surprise coming from me but,, Darkheart from Phighting stimboard, perhaps? Specifically anything shiny !! :}
An I don't really have any triggers so feel free to use whatever heehee


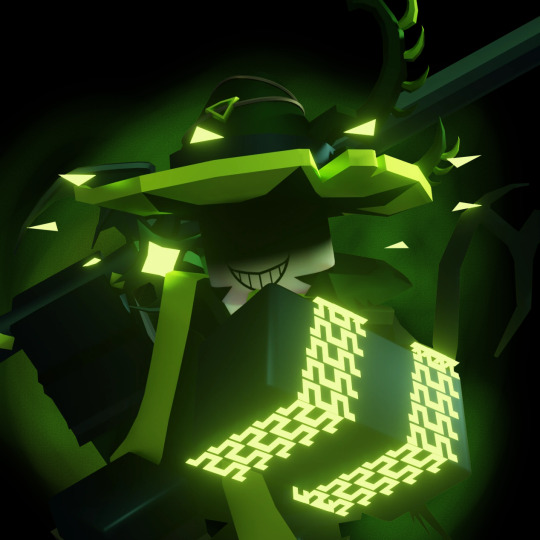


Darkheart (Phighting!) Board for Akheku! 🌱 (The one and only💚 hehe)
💚 💚 💚
⚔️ ⚔️ ⚔️
🖤 🖤 🖤
A stimboard of my favorite persons favorite character, can’t get much better than that, hehe ^^
#had a feeling you’d want a board for him hehe ^^ I hope this is good!#love you mimi#green stim#white stim#hand stim#slime stim#neon stim#black stim#dice stim#gem stim#fire stim#darkheart phighting#darkheart#phighting!#stimboard#stim blog#animals#hands#I really wanted to add the glowing fish one cause . he fishes.#can you te;l I’m really happy about the fish#request#pour stim
100 notes
·
View notes
Text
Shapeshifting Stimboard


Made for myself based on a kintype
🖤🦴🖤
🦴🖤🦴
🖤🦴🖤
#creature#beast#monster#otherkin#shadow creature#shapeshifter#kintype#raven#crow#corvid#black#claws#rabbit#dark mass#stimboard#personal stimboard#alterhuman#stim gif#favorite stimboard
14 notes
·
View notes
Text
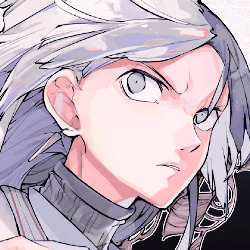
Virgil "Anxiety" Sanders Stimboard


x | x | x
x | • | x
x | x | x
#virgil sanders#stimboard#virgil sanders stimboard#sanders sides#ts virgil#sanders sides stimboard#jj's personal stimboard#thomas sanders#purple#makeup#eyeshadow#lipstick#spider#eyes#tw spiders#tw eye imagery#sewing#fangs#fabric#fan favorite
68 notes
·
View notes
Last Seen Blogs
a-story-we-tell-ourselves
In the morning I'll call you
addie7
✯𝚊𝚍𝚍𝚒𝚎🐦⬛

acupofmushrooms
*・゚:* Home *:・゚*
officialleejaehwan
Ken in Wigs Enthusiast